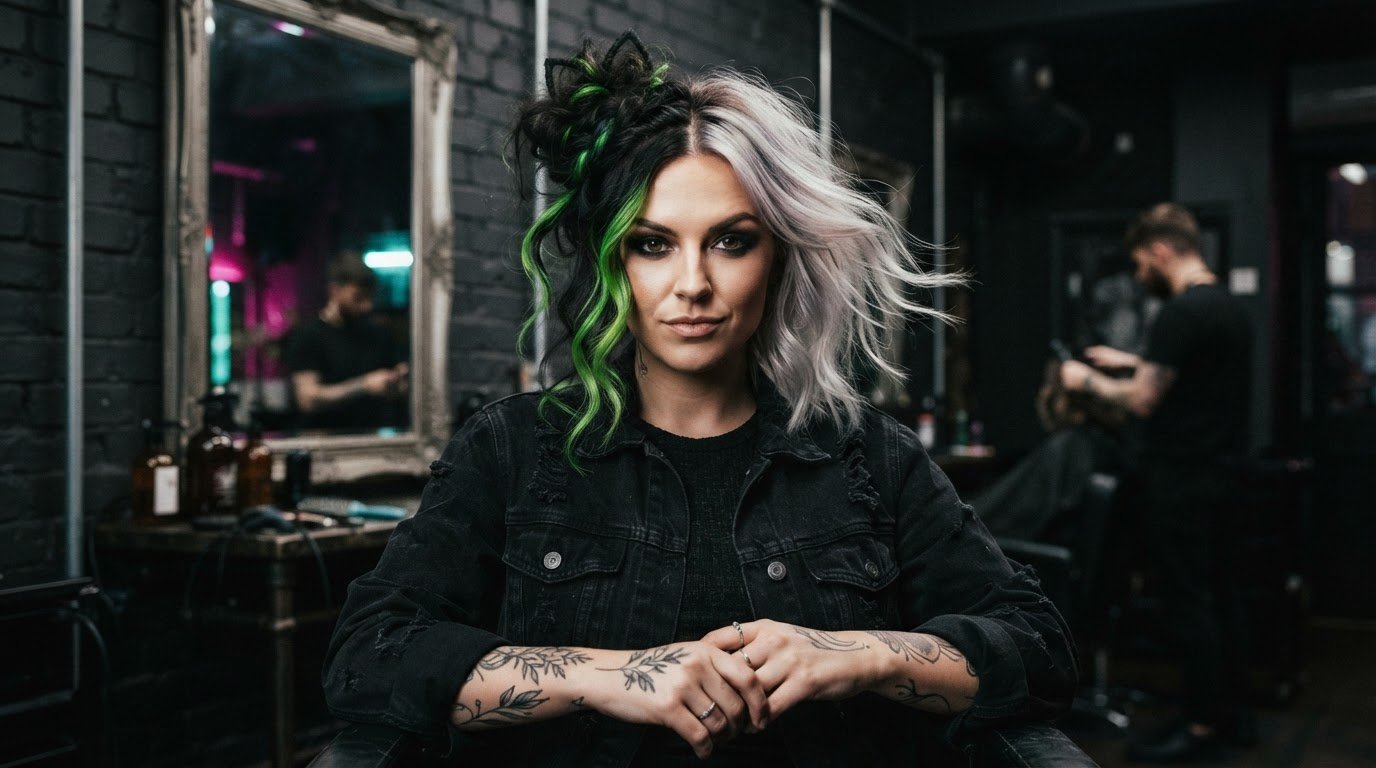
Spooky hair works best when the look has a clear mood. A messy witch hairstyle brings unruly, spell-casting energy, while ghostly, undone hair feels softer, eerie and windswept. These styles offer distinct ways to take a dark aesthetic in different directions.
You don’t need a perfectly polished finish to make an impression. Texture, loose strands and deliberate disarray can give hair a haunting edge without making it feel like a costume. This guide explains what sets a messy witch look apart from ghostly, undone hair, so you can choose the vibe that feels like you.
Along the way, you’ll find ideas for creating spooky hairstyles at home and learn which tools and products can help shape the finish. Think less “neat and proper” and more beautifully unruly. Your hair, your haunting.
Key Takeaways
- Choose between a messy witch bun for unruly, spell-casting energy and ghostly undone hair for a softer, windswept mood.
- For a quick cat-ear look, shape each ear from a hair section 5cm wide; devil horns and Viking braids offer different ways to build more structure.
- Set the mood with the right tools and finish: a temporary black colour spray is one option for a dramatic, washout change.
- Short hair can still make a strong statement through texture, piecey shapes and details that frame the face.
- Use long hair’s extra length to experiment with braids, loose waves and deliberately dishevelled shapes.
2. Ghostly undone hair
Ghostly undone hair trades sharp structure for movement, softness and a deliberately unsettled finish. Picture a windswept bob, loose bends around the face, and ends that refuse to sit perfectly. The result feels spectral rather than polished, like you’ve just drifted in from the fog. In 2023, it was the year of the bob, making this shape a natural starting point for a ghostly look. A bob’s clean outline gives undone texture somewhere to contrast, without needing elaborate styling.
Start with the shape you already have. A blunt bob can look eerie with separated ends, while a layered cut lets shorter pieces fall free around the cheeks. On longer hair, keep the roots smoother and focus movement through the mid-lengths. This contrast makes the style feel intentional, not simply messy. A side part can add an off-kilter feel; a centre part frames the face more evenly. Try both to see which mood suits your features and outfit.
For mermaid waves, curl sections in alternating directions. Curl one section away from your face, then turn the next towards it. Repeat across your hair so the waves don’t merge into one uniform shape. Once the curls have cooled, loosen them gently with your fingers. A brush can soften the bends further, but keep some separation between sections for a windswept finish. Leave the ends straighter for texture that feels less formal and more spectral.
Build the undone effect in stages. First, create your parting and wave pattern. Next, separate a few pieces around the temples and jawline. Then loosen the lengths until the curls look broken up, not freshly set. If your hair has natural bends, scrunch those sections with your hands rather than forcing every strand into a curl. A little asymmetry helps: let one side sit fuller, or tuck one side behind an ear while leaving the other loose.
Keep the ghostly mood in the details. A pale outfit, dark clothing or a dramatic accessory can shift the same waves in different directions, so match the finish to your overall look. For a softer apparition, keep the crown relaxed and the face-framing pieces airy. For a more haunted edge, add texture at the roots and make the bob’s outline less precise. The aim isn’t perfect disorder. It’s a controlled, touchable shape with enough movement to seem alive.
3. How can you create spooky hairstyles at home?
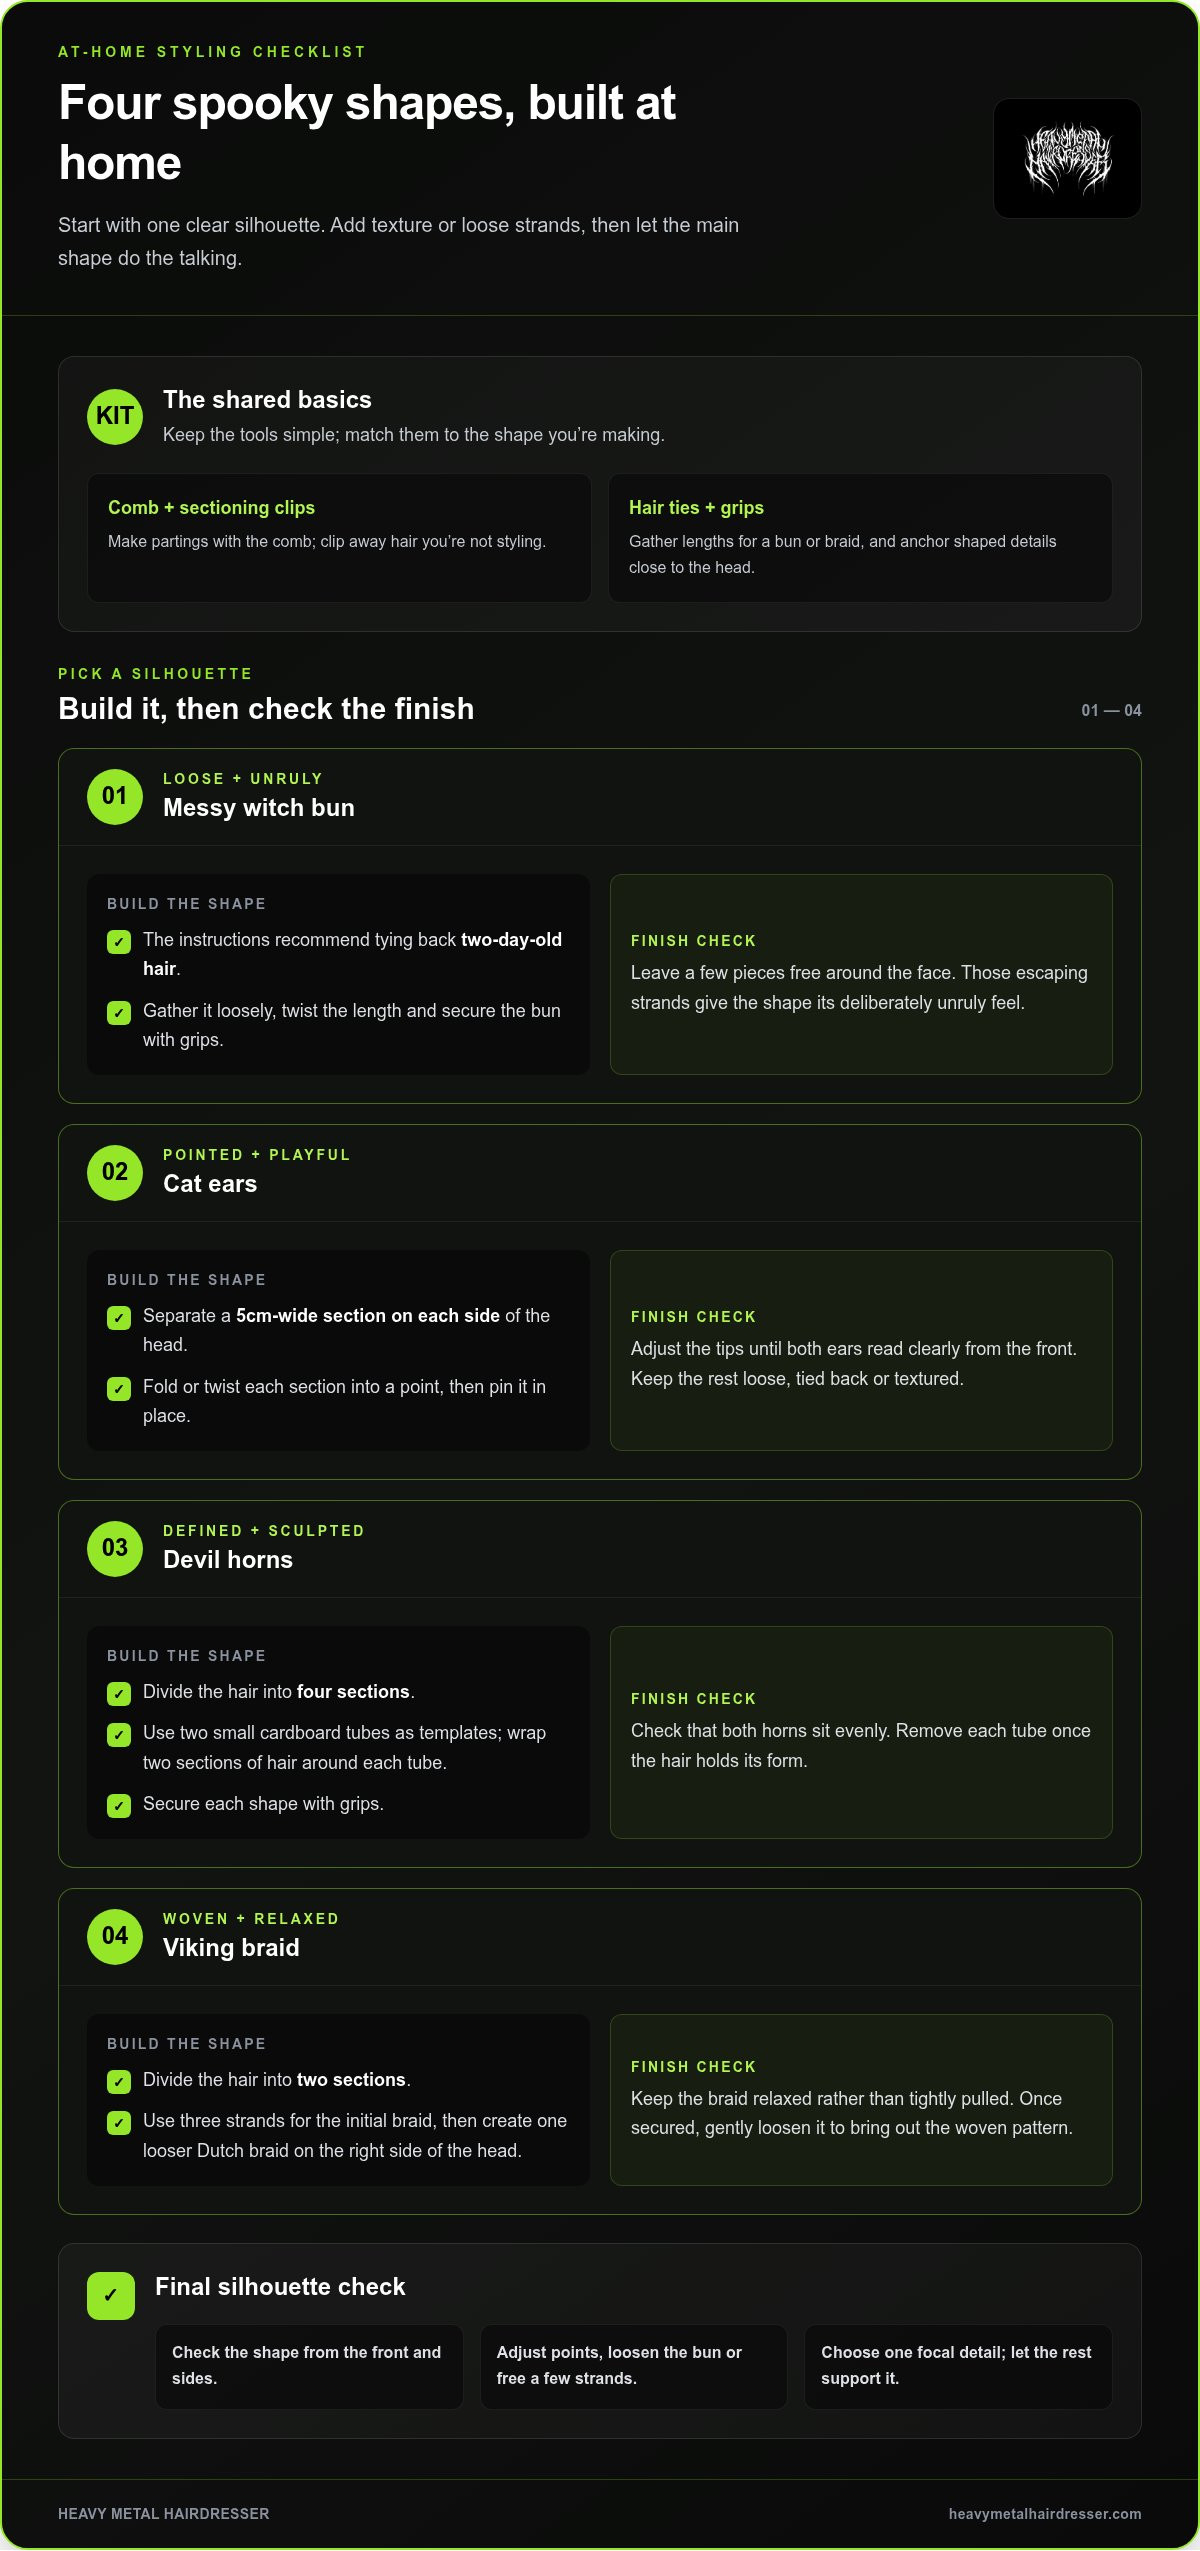
Build a Halloween hair look around one clear shape, then add texture or loose strands. A messy witch bun, cat ears, devil horns and a Viking braid each create a different silhouette. Start with hair that’s easy to part and handle, plus a comb, hair ties and grips. Keep the finish personal: a sleek base makes shaped details stand out, while loose texture gives the style a rougher, haunted feel.
For a witchy look, the instructions recommend tying back two-day-old hair in a messy bun. Gather it loosely, twist the length and secure the bun with grips, leaving a few pieces free around your face. Those escaping strands make the shape feel deliberately unruly. For cat ears, use a hair section 5cm wide to form each ear. Fold or twist each section into a point, then secure it against the head. Adjust the tips until both ears read clearly from the front.
- Make cat ears. Separate a 5cm-wide section on each side of the head. Shape each one into a pointed ear and pin it in place. Keep the remaining hair loose, tied back or textured, depending on the look you want.
- Shape devil horns. Divide the hair into four sections, then use two small cardboard tubes as templates. Wrap two sections of hair around each tube to form a horn. Secure the shapes with grips, and remove each tube once the hair holds its form.
- Start a Viking braid. Divide the hair into two sections. Use three strands for the initial braid, then create one looser Dutch braid on the right side of the head. Keep the braid relaxed rather than tightly pulled for a rougher, battle-ready finish.
For devil horns, cardboard tubes help create a defined curve, while the hair wrapped around them forms the visible shape. Make both horns before adjusting their position, so they sit evenly. For the Viking look, gently loosen the Dutch braid after securing it. This brings out the woven pattern and gives the style a less polished edge.
Finish by checking the silhouette from the front and sides. Reposition a cat-ear point, loosen the witch bun or pull a few strands free from the braid. Use a mirror to see whether the main shape reads clearly. Choose one focal detail, such as horns or ears, and let the rest of your hair support it rather than compete with it.
Prioritise the shape as you work: devil-horn hairstyle instructions divide the hair into four sections, while Viking braid instructions begin with two. Once sectioned, focus on the intended outline instead of adding competing details. For horns, use the templates to guide the curve, then check that both shapes sit evenly before removing the tubes. For the braid, secure the woven shape first, then ease it out gently. Check your look from several angles to spot uneven points or loose strands that distract from the silhouette.
4. What tools and products are needed for spooky hair?
A comb, sectioning clips, hair ties and grips cover the basics for shaping most Halloween looks. Add a curling wand for defined bends, or use your fingers to work with natural texture. Choose products for the finish you want: texture spray creates separation, while hairspray helps hold a formed shape. You don’t need every tool at once. Match your kit to one clear idea, such as loose ghostly waves or pointed devil horns.
- Comb and sectioning clips: Use a comb to make clean partings, then clip away hair you’re not styling. For cat ears, separating the two 5cm-wide sections keeps the shapes distinct.
- Hair ties and grips: A tie gathers lengths for a bun or braid; grips anchor loose shapes close to the head. Choose grips that blend with your hair or make them part of the look.
- Curling wand: Create bends for a windswept finish, or vary curl direction to stop the texture looking too uniform. Let each section cool before loosening it with your fingers.
- Texture spray: Work a small amount through selected lengths when you want separated, piecey definition. Concentrate on the mid-lengths and ends for a deliberately undone effect.
- Temporary black hair-colour spray: A listed washout option comes in a 133 ml size and is described as made in the UK. It adds a dark colour change without making the shade permanent.
Use your tools together: section hair with a comb, hold sections aside with clips, then secure the finished shape with grips. For a messy bun, a tie can anchor the base before you pin loose pieces in place. For horns, small cardboard tubes can act as shaping templates, with grips holding the hair around each form.
Choose products to suit your hair’s natural texture and the style’s structure. A braid needs enough grip to hold its woven shape; loose waves need movement, not a stiff coating. Apply texture spray in light passes, adding more only where separation is missing. For a sleek base with dramatic details, focus product on the shaped sections.
Lay out your kit before styling: comb, clips, ties, grips and your chosen finishing product. This makes it easier to organise sections and see what the look needs. Start with less product, then refine the finish in front of a mirror. A few separated strands or a defined point can change the mood without rebuilding the whole style.
5. How do you make spooky hairstyles for short hair?
Short hair can make a strong spooky shape without long braids or elaborate updos. A pixie cut, crop or bob gives you a different starting point. Work with your cut’s natural outline: lift a fringe into sharp points, flatten the sides for a severe silhouette, or add broken-up texture across a bob. Decide whether you want a polished vampire mood or a messier, haunted look, then style towards that finish.
For a sharp, supernatural finish, create a deep side part and smooth one side close to your head. Use a comb to guide the fringe across your forehead, then separate its ends into pointed pieces with a little styling product. This works particularly well on a short bob with a longer fringe. Tuck the other side behind your ear, or secure it with a visible grip for an intentionally stark detail.
- Make a pixie look more spectral: Work texture through the crown with your fingers, then pull a few pieces forwards around the forehead. Keep the sides flatter to create contrast.
- Give a bob a haunted edge: Add bends through the ends, then separate them into uneven sections. Leave the parting slightly off-centre for an unsettled finish.
- Build a miniature updo: Gather the longer top section into a small twisted knot. Pin it securely, then leave short pieces loose around the temples.
Short layers can also suggest claws or a creature’s silhouette. Use your fingertips to lift selected sections upwards, then direct the ends into separate points. Concentrate the lift at the crown or fringe rather than across the whole head. This keeps the shape readable and stops fine sections from collapsing into one fuzzy mass. A few deliberate spikes make more impact than uniform stiffness.
Accessories add a clear Halloween cue without changing your cut. Slide a dark barrette above one temple, or place a small clip beside a side part. For a cat-inspired look, position the accessory near the crown and keep the rest of your hair sleek. With a bob, tuck one side behind your ear to keep the detail visible. Choose accessories that sit securely in your hair.
Finish by checking the shape from the front and side. A short fringe may need reshaping after you turn your head, while a twisted knot can loosen as you move. Use a comb to sharpen the parting, then adjust individual pieces with your fingers. On short hair, placement does the heavy lifting: a lifted crown, angled fringe or visible clip can define the whole look.
5. What spooky hairstyles work for long hair
Long hair gives you room to build height, movement and dramatic shapes. A loose braid can look eerie and windswept; a high ponytail creates a sharper silhouette. Choose one focal point first, such as a braid, waves or a twisted crown. Arrange the remaining lengths to support it, so the style feels deliberate rather than making every section compete for attention.
A long, loose braid suits a ghostly or gothic mood. Start with a side part, gather your hair over one shoulder and braid loosely from below the ear. Secure the end, then gently loosen the woven sections with your fingers. Leave a few strands around your face, and pull the braid forward so it stays visible. For a more dramatic finish, braid a narrow section at each temple before joining both into the larger plait.
For darker mermaid waves, use a curling wand in alternating directions. Work through your hair in sections, then let the curls cool before separating them by hand. Keep the roots smoother and the ends less uniform for a windswept effect. A centre part frames the waves evenly; a side part gives the look a more off-kilter feel. The contrast between controlled roots and loose lengths makes the texture feel intentional.
- Twisted crown: Take a section from each temple, twist both backwards and pin them together at the back of your head. Leave the remaining lengths loose, or weave them into a braid.
- High ponytail: Gather the hair at the crown and secure it firmly. Wrap a small section around the tie, then pull a few strands free near the temples for a rougher finish.
- Multiple braids: Create narrow plaits through the front sections, then leave the rest loose. This adds detail without hiding the length or overwhelming the overall shape.
Balance matters with long hair. If a braid is the main feature, keep accessories minimal and let its texture do the work. If you choose a high ponytail, add movement through the tail rather than piling on extra details. For a twisted crown, pin each side securely before loosening the lengths. Check the shape from behind as well as in front, so the braid or crown detail reads clearly.
For a lasting everyday shape that still works with dramatic styling, explore alternative haircut inspiration. A cut with movement can make long braids, loose waves and undone lengths easier to shape into your own dark aesthetic.
Heavy Metal Hairdresser: Shag Haircuts
Heavy Metal Hairdresser offers shag haircuts for anyone wanting everyday shape with room for a darker styling mood. A shag’s layers add movement and texture, giving loose waves, teased roots or deliberately untidy ends a strong foundation. It’s a useful next step if you’ve tried temporary Halloween looks and want a cut that works beyond the occasion.
Bring your preferred silhouette and styling ideas to your appointment, whether you’re drawn to ghostly movement or a messier, witch-inspired finish. You can consider the shape alongside how you like to wear your hair day to day.
Contact Heavy Metal Hairdresser to discuss a shag haircut that suits your style.
Make your next look your own
Spooky hair can be more than a one-night transformation. Think about the shape you’ll want to wear after the costume comes off, and how it can keep expressing your identity in everyday life. A cut with character gives you a starting point for changing the mood through styling, texture and personal details.
Heavy Metal Hairdresser offers shag haircuts and wolfcuts for people drawn to expressive, alternative shapes. Guest Spots offer another creative option. The right direction starts with what feels like you, not a trend or a fixed idea of what alternative hair should look like.
Bring your inspiration, your everyday preferences and the details you want to make your own. Contact Heavy Metal Hairdresser to talk through your next look. Make it strange, make it personal, and wear it with confidence.
Frequently Asked Questions
What does “spooky hair” mean?
“Spooky hair” describes a hairstyle that creates an eerie, supernatural or darkly dramatic mood. It can be a temporary Halloween look or an alternative style you wear beyond the occasion. The effect comes from the shape and finish, such as a severe parting, shadowy colour or deliberately untamed texture. Choose details that suit your aesthetic, rather than treating spooky style as one fixed look.
What are popular spooky hairstyle ideas for Halloween?
Popular Halloween directions include vampire-inspired hair, ghostly textures and monster-like shapes. For a vampire look, try a sleek, sharply parted style with a dramatic silhouette. Soft, dishevelled lengths suit a ghostly character, while exaggerated height or uneven, spiked sections can suggest a monster. Match the hairstyle to your costume’s character, then keep the rest simple so the main feature stands out.
What are easy spooky hairstyles for children?
Cat ears are a simple option: shape a 5cm-wide section of hair on each side into a point and secure with grips. A loose messy witch bun is another at-home style.